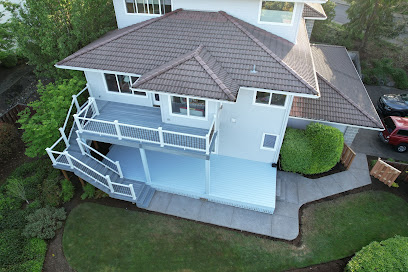
If you’re looking for fence building hacks, you have found the right blog post. A fence can add more than just boundaries to your property. It enhances your home’s curb appeal, provides privacy, increased security, and even boosts its value. But the thought of building a fence can be a bit overwhelming for some homeowners- and expensive, too. However, the team at Grand Decks is here to tell you that it doesn’t have to be. Today, we’ll share five affordable fence building hacks to help you build a fantastic fence like a pro.
Fence Building Hack #1: Choose the Right Material
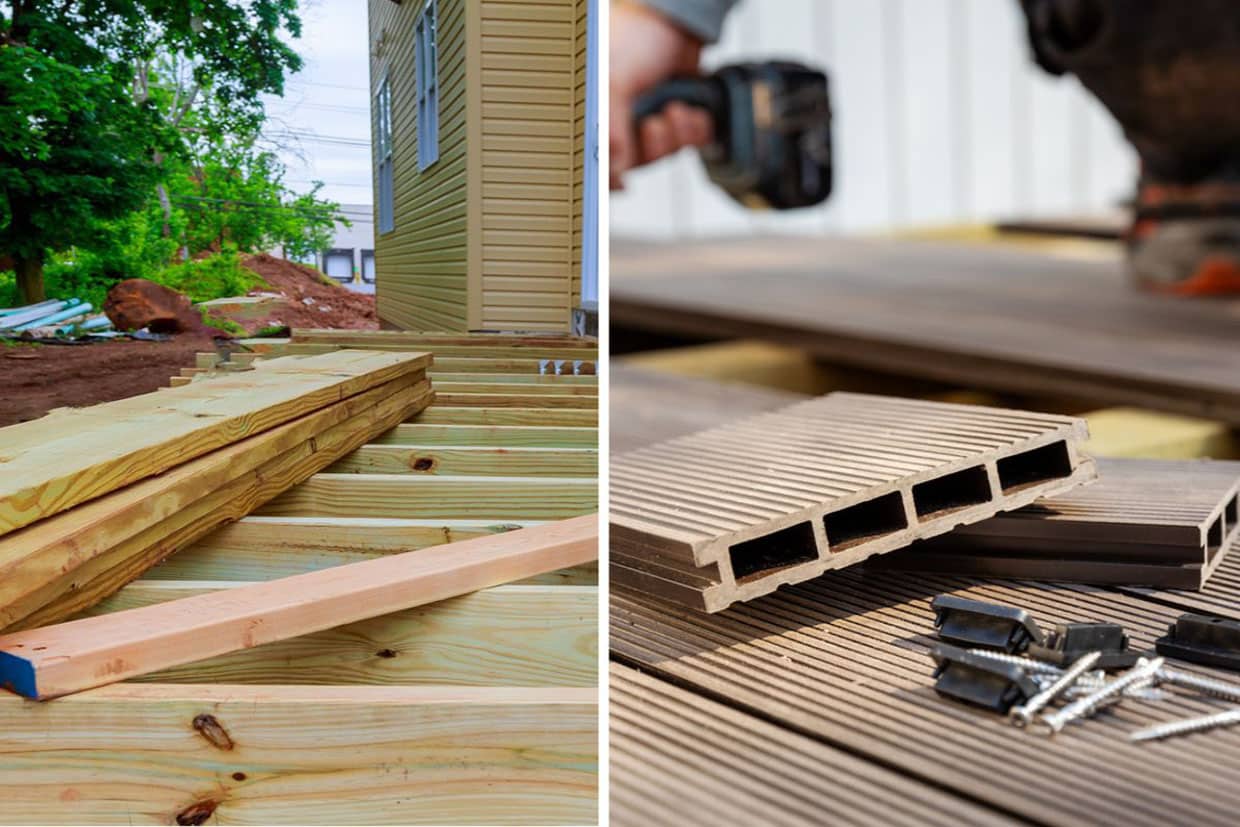
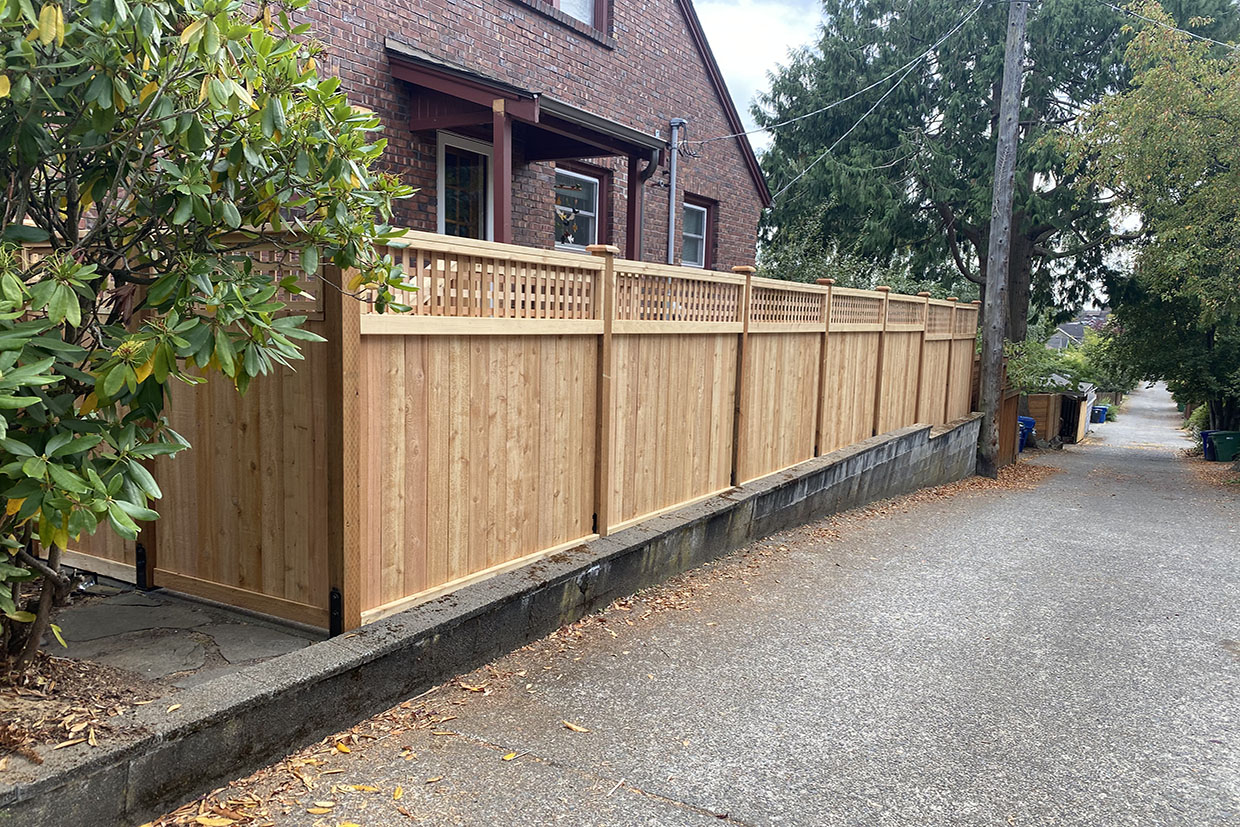
When it comes to building a fence, the choice of material is not just about aesthetics; you also have to consider costs. Depending on the size of your property and the type of fence material you choose, building a fence could put a pretty big dent in your savings. You can’t do much about the size of your yard, but choosing the right material is one cost-saving way of building a fence. Pressure-treated wood, known for its affordability and resistance to rot and pests, is an excellent option for those on a budget. Alternatively, vinyl might cost more upfront, but its durability and low maintenance could save you money in the long run.
The best material for a long-lasting fence depends on your specific needs, budget, and climate, but here are some commonly recommended materials and their benefits:
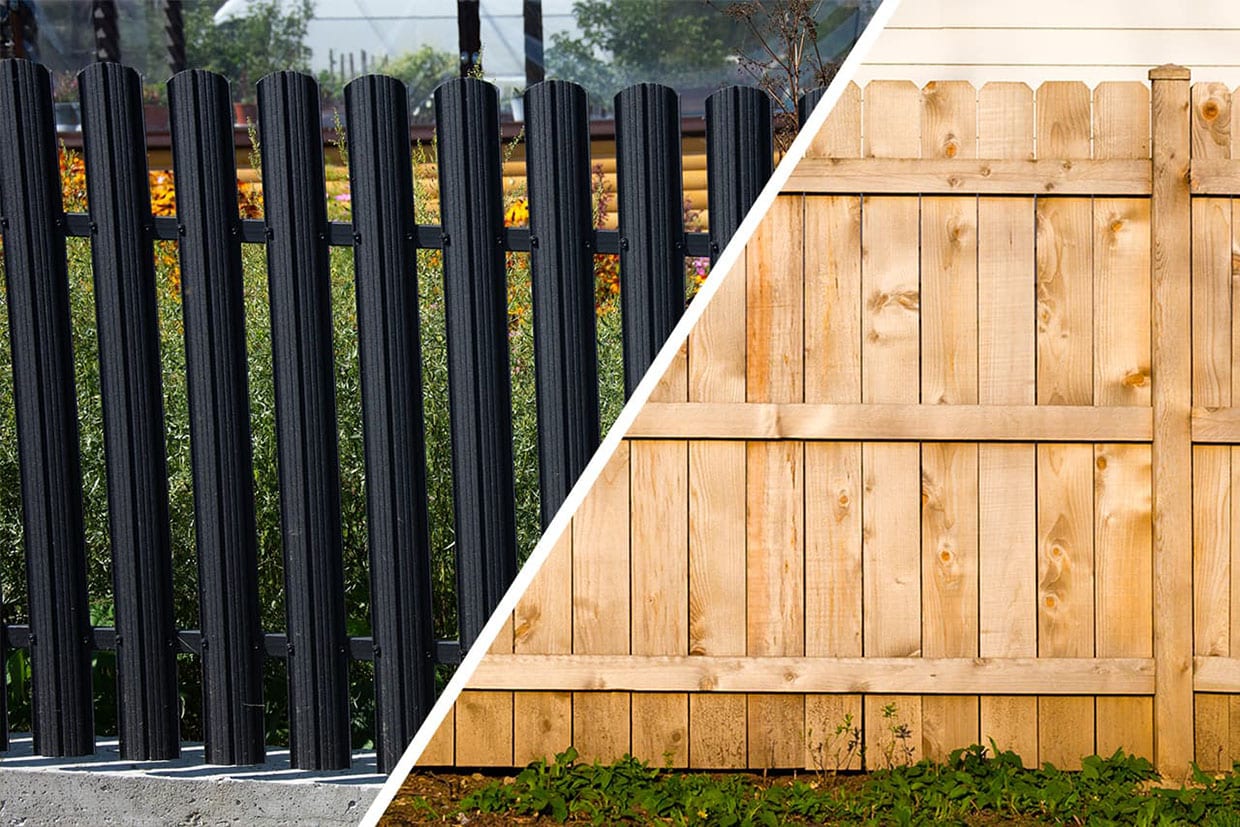
- Vinyl: Vinyl or PVC fences are highly durable, virtually maintenance-free, and resistant to rot and insects. They don’t need to be painted or stained and can be easily cleaned with soap and water. However, they can be more expensive upfront than other options.
- Wood: A wooden fence is a classic choice that offers a warm, natural look that many homeowners love. Certain types of wood, such as cedar, redwood, and pressure-treated pine, are more resistant to rot and insects, which can extend their lifespan. However, wood fences require regular maintenance, including staining or painting.
- Metal: Aluminum, steel, and wrought iron are popular choices for metal fences. Aluminum and steel are more affordable and require less maintenance, while wrought iron is exceptionally durable and can last for decades with proper care. Post and rail fences, or chain link fences are also a popular choice for your backyard. However, metal fences can be susceptible to rust in humid or rainy climates.
- Composite: Composite fencing, made from a mixture of wood and plastic, offers the look of wood with the durability of plastic. It’s resistant to rot and insects doesn’t require painting or staining, and can last for several decades. It’s more expensive than wood but can be a cost-effective choice in the long run because of its low maintenance needs plus its beauty can enhance the overall landscape of your yard.
Remember to consider factors like the purpose of the fence (privacy, decorative, security), the local climate, and local regulations or HOA rules when choosing the material for your fence. Comparing prices and maintenance needs will help you select the best material that suits both your budget and lifestyle. Consulting with the professionals at Grand Decks can provide more guidance based on your specific situation.
Fence Building Hack # 2: Pre-Made Panels
Building your fence from scratch might seem like a fun DIY challenge, but it can also be a time-consuming and labor-intensive endeavor. That’s where pre-made fence panels can come to the rescue. Available in various styles and materials, these panels can drastically reduce construction time while offering a neat, uniform, and professional-looking result.
Pre-made fence panels are sections of fencing that are pre-assembled and ready to be installed. They come in various materials, such as wood, vinyl, metal, and composite, in many different styles and sizes. They can significantly simplify and expedite the fence installation process since you don’t have to assemble the fence from individual pickets or boards.
To install pre-made fence panels, you typically follow these steps:
- Plan Your Layout: Measure and mark where your fence posts will go, ensuring the distance matches the width of your pre-made panels.
- Install Fence Posts: Dig holes for your fence posts (usually with a post hole digger or auger), place the posts in the holes, and then fill the holes with quick-set concrete. Use a level to make sure the posts are straight.
- Attach the Panels: Once the concrete has set and the posts are secure, you can attach the pre-made panels. This usually involves placing the panel between two posts and attaching it with screws or nails. Ensure the panels are level before securing them completely.
- Repeat: Repeat the process for each panel until your fence is complete.
- Finishing Touches: Depending on the type of fence and your preferences, you may want to add post caps or paint/stain the fence.
While pre-made panels can simplify the process, installing a fence can still be a difficult project. Also, pre-made panels might not work for all properties, particularly those with a lot of slopes or uneven ground. If you’re unsure, it may be best to consult with a fencing professional at Grand Decks.
Fence Building Hack 3: Use a Template
The secret to a well-aligned and professional-looking fence is consistency. Using a template or a jig for spacing fence posts and panels evenly can save you considerable time and keep your fence looking orderly. This simple tool can be the difference between a haphazard fence and one that looks like a professional built it.
Creating a Template for Spacing Fence Posts
A template for spacing fence posts ensures that the distance between each post is exactly the same, providing a uniform look to your fence. Here’s how you could create and use a post-spacing template:
- Measure the width of your fence panels. If you’re not using pre-made panels, decide on the desired distance between posts (usually 6 to 8 feet for a standard fence).
- Cut a piece of scrap wood or a long, straight piece of rigid material to the exact length that matches your measurement.
- This piece now acts as your template. To use it, place one end against one post, and the other end shows you where to dig for the next post. Continue this process for all your posts.
Creating a Template for Spacing Fence Pickets
If you’re building a fence from individual pickets, you’ll want to ensure that the spacing between each picket is consistent. Here’s how you can create and use a picket-spacing template:
- Decide on the desired gap between your pickets. Remember to consider privacy, the size of your pickets, and local regulations when making this decision.
- Cut a piece of scrap wood to the size of your desired gap. This piece acts as your spacing template.
- As you install your pickets, place the template between each one to ensure equal spacing. Place the template against the installed picket, place the next picket against the other side of the template, and then secure the picket. Remove the template and repeat the process.
Remember, a template helps you maintain consistent spacing, but you should still use a level to ensure your posts and pickets are plumb. The combination of even spacing and straight, level posts and pickets will give you a professional-looking fence. If you have any questions about any of our fence building hacks, we would be thrilled to assist you further! Contact us today!
Fence Building Hack # 4: Invest in Good Tools
Even for a DIY project, having the right tools in your arsenal is crucial. A post-hole digger or a power auger, while an investment, can save you significant time and effort when installing your fence posts. These tools might cost a bit upfront, but if you plan on tackling more DIY projects, they’re well worth it as they are extremely helpful tools. If you’re tempted to take the cheaper route, here are some reasons why investing in high-quality tools is worth the investment:
- Efficiency: Good tools can save you time and effort, making the job more efficient.
- Durability: Quality tools are generally more durable and can withstand the rigors of a large project like fence building.
- Safety: Well-made tools are typically safer to use, reducing the risk of accidents.
- Better Outcome: Quality tools can provide a more professional result. For example, a level fence requires accurate measurements and straight drilling – tasks that are much easier with high-quality tools.
Here are some essential tools you’ll likely need when building a fence:
- Post Hole Digger or Power Auger: These tools are used for digging the holes where your fence posts will go. A power auger can save a lot of time and labor, especially if you’re installing a long fence.
- Level: A level is essential for making sure your posts and panels are straight. An improperly leveled fence not only looks bad but can also be unstable.
- Cordless Drill: A cordless drill is versatile and handy for drilling pilot holes and driving screws.
- Saw: Depending on the type of fence, you might need a saw to cut down panels or posts to the right size. A circular saw or a reciprocating saw could be useful.
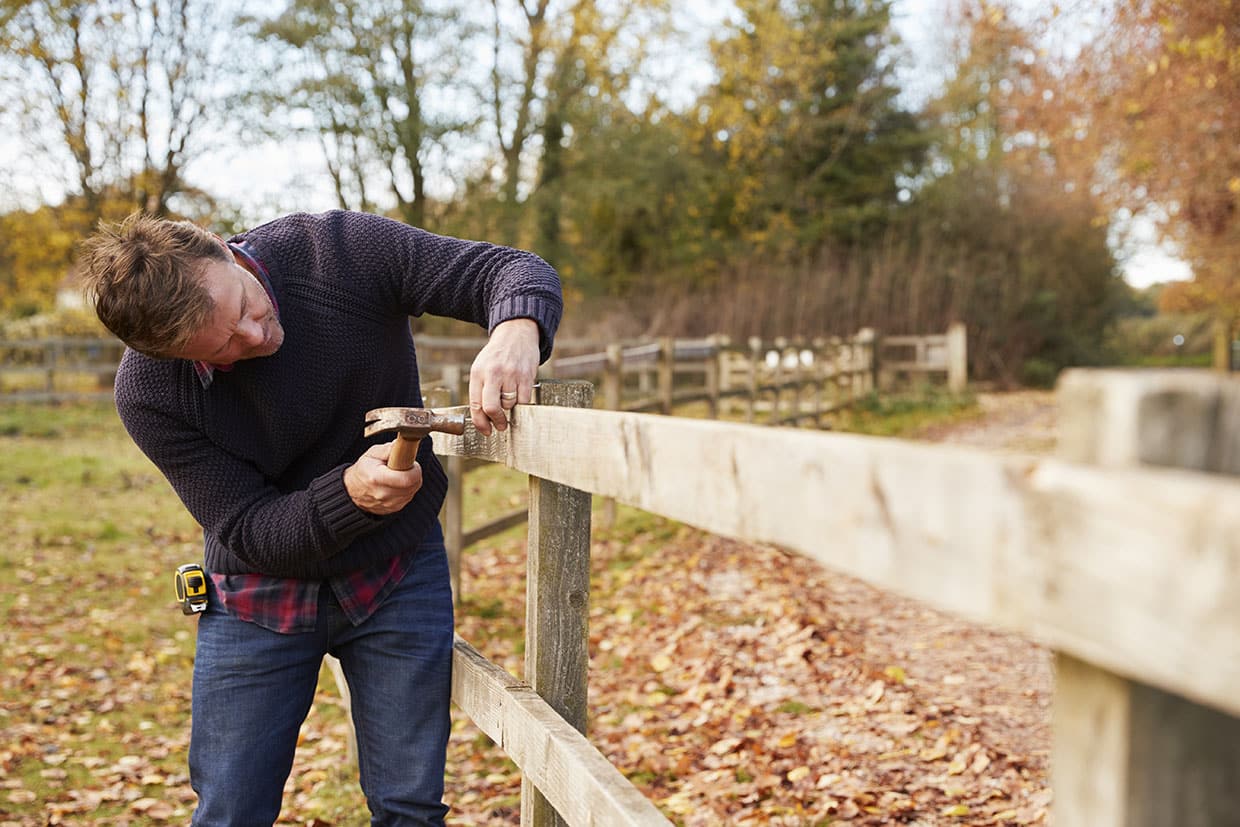
- Hammer or Nail Gun: If you’re using nails to secure your fence, you’ll need a good hammer or a nail gun. The latter can save a lot of time and effort.
- Staple Gun: If you’re installing a wire fence, a staple gun can be used to secure the wire to the posts.
- Measuring Tape: Precision is key in fence installation, and a good measuring tape is essential for accurate measurements.
- String Line: A string line helps you align your posts in a straight line when setting them up.
- Pliers: Pliers can be useful for many tasks, such as cutting and bending wire or pulling out nails.
- Shovel or Spade: You might need a shovel or spade for clearing the area where your fence will go.
It’s good to remember to use your tools safely, following all manufacturer’s guidelines and wearing appropriate safety gear. Hiring a professional fence-building team is another affordable way to build a fence, as they are equipped with all the necessary tools and knowledge to use them.

Fence Building Hack # 5: Maintenance is Key
The job of a pro doesn’t end once the fence is up. Regular maintenance activities, such as staining or sealing wood fences, repairing any damage promptly, and ensuring the posts remain level, are essential to ensure that your fence looks its best and prolongs its life. Regular upkeep can help you avoid more costly repairs in the future, protecting your investment. Maintaining your fence properly can significantly prolong its lifespan and keep it looking great.
Here are some top tips for maintaining different types of fences:
Wood Fences:
- Staining and Sealing: Apply a high-quality stain and sealant to protect the wood from moisture and UV damage. This should be done every 2-3 years, or as needed based on the wear of the previous application.
- Cleaning: Regularly clean your fence to remove dirt, mold, and mildew. A gentle power wash or scrubbing with a soft brush and mild detergent can work well.
- Repairing: If you notice any damaged areas (like split or warped boards), repair them as soon as possible to prevent further damage.
Vinyl Fences:
- Cleaning: Regular cleaning with a garden hose and mild soap can help maintain the look of a vinyl fence.
- Checking for Damage: Although vinyl is durable, it can crack or break if hit hard. Repair or replace damaged sections as needed or contact professionals to assist.
Metal Fences:
- Rust Removal: If you have an iron fence, check for rust regularly. If you find any, you can usually remove it with a wire brush and then apply a rust-inhibiting paint.
- Painting: Painting your metal fence can provide an extra layer of protection against rust and corrosion.
General Tips for Maintaining a Fence:
- Regular Inspections: Regularly inspect your fence for any signs of damage or wear. This can help you catch issues early and prevent small problems from becoming big ones.
- Maintain the Surroundings: Keep the area around your fence clear of heavy foliage, debris, and standing water to prevent damage.
- Avoid Extra Weight: Don’t allow heavy vines or other plants to grow on your fence as they can cause damage over time.
- Gate Maintenance: Gates are often the first part of a fence to show wear. It’s always best to keep the hinges oiled and make sure the gate remains well-aligned.
By taking the time to maintain your fence properly, you can extend its life and keep it looking great for many years.
Build A Fence Like A Pro With Hacks From The Fence Experts: Grand Decks
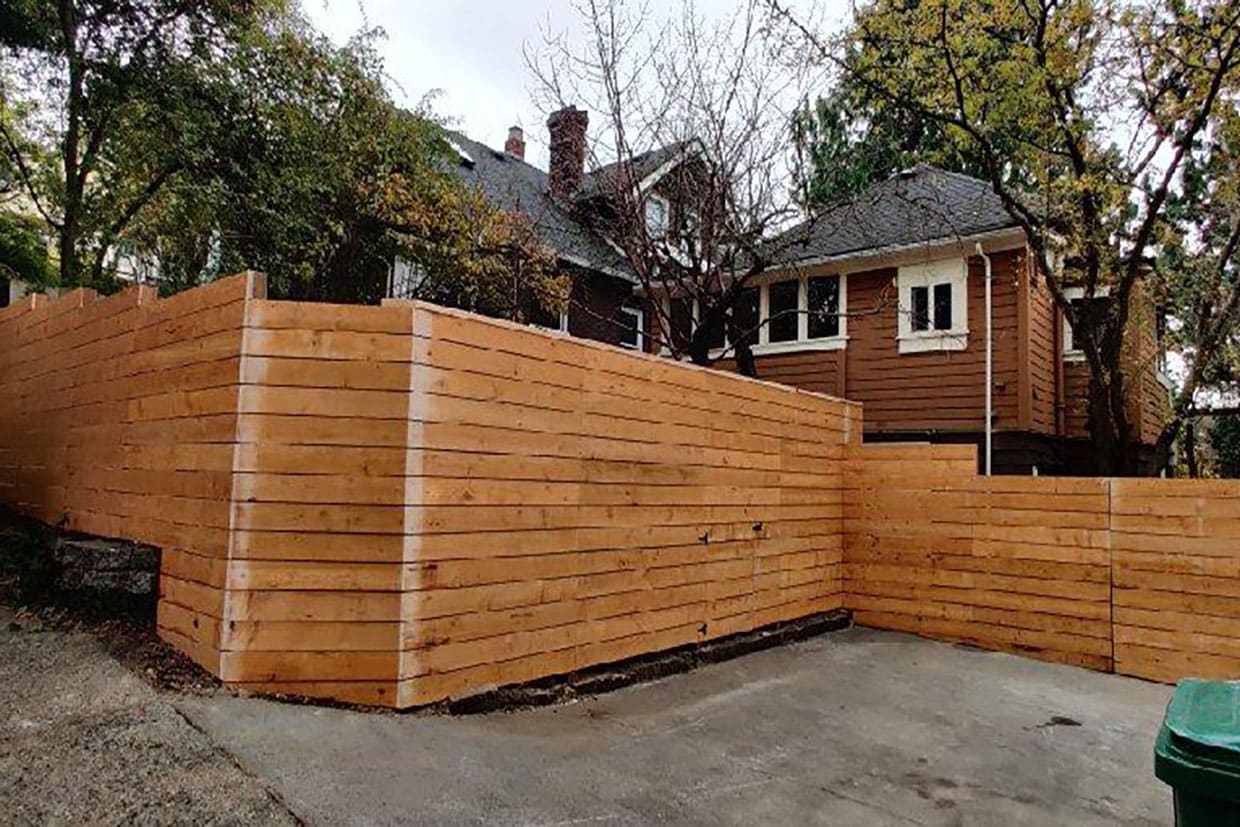
Building a fence might seem like a big undertaking, but with these affordable hacks from Grand Decks, you’ll be constructing like a pro in no time. Remember, a well-built fence not only adds beauty and privacy to your property but also increases its value. So, pick up your tools and get ready to make a great impression with your fantastic fence.
If you need further advice or professional assistance, don’t hesitate to reach out to the fence experts from Portland, OR at Grand Decks. We’re here to help you create a fence you’ll be proud of and offer you the peace of mind of knowing your home is safe and secure with a professionally built fence. After all, every great home deserves a great fence!
